About This Recipe
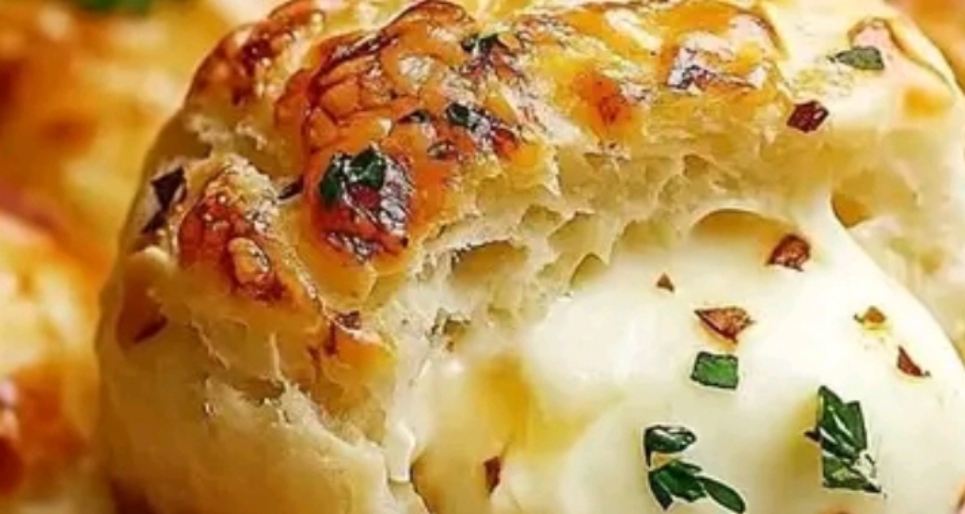
This recipe is for garlic butter cheese bombs, a savory baked appetizer. It involves canned biscuit dough filled with cheese, baked until golden, and brushed with garlic butter. It is known for being a simple and quick dish to prepare using a minimal number of common ingredients.
Why You’ll Love This Recipe
- It requires very few ingredients, most of which are pantry staples.
- The preparation process is straightforward and does not require advanced cooking skills.
- It yields a warm, cheesy, and garlicky result in a short amount of time.
- It can be served as an appetizer, snack, or side dish for various meals.
Ingredients
- 1 (16.3 oz) can of refrigerated biscuit dough (8 count)
- 4 oz low-moisture mozzarella cheese, cut into 8 cubes (or 8 string cheese sticks, cut in half)
- 3 tablespoons unsalted butter
- 2 cloves garlic, minced
- 1 teaspoon finely chopped fresh parsley (optional, for garnish)
- All-purpose flour, for dusting
Step by Step Instructions
- Preheat your oven to 375°F (190°C). Lightly grease a baking sheet or line it with parchment paper.
- Open the can of biscuit dough and separate the biscuits. On a lightly floured surface, flatten each biscuit into a circle approximately 4 inches in diameter.
- Place one cube of mozzarella cheese (or two halves of a string cheese stick) in the center of each flattened biscuit.
- Gather the edges of the biscuit dough around the cheese, pinching them firmly at the top to completely seal the cheese inside. Roll gently in your hands to form a smooth ball. Ensure the seal is tight to prevent cheese leakage.
- Place each sealed ball, seam side down, onto the prepared baking sheet, spacing them about 2 inches apart.
- Bake in the preheated oven for 12-15 minutes, or until the bombs are puffed and golden brown on top.
- While the bombs bake, prepare the garlic butter. In a small saucepan over low heat, melt the butter. Add the minced garlic and cook for 1-2 minutes until fragrant. Remove from heat.
- Immediately after removing the cheese bombs from the oven, brush the tops generously with the prepared garlic butter. If desired, sprinkle with chopped parsley.
- Let cool for 2-3 minutes before serving, as the cheese filling will be very hot.
FAQ
Can I use a different type of cheese?
Yes. Low-moisture mozzarella is recommended for its melt and stretch, but other meltable cheeses like cheddar, Monterey Jack, or a blend can be used.
Can I make these ahead of time?
You can assemble the cheese bombs up to a few hours in advance, keep them covered on the baking sheet in the refrigerator, and bake just before serving.
Why did my cheese leak out?
Cheese leakage can occur if the dough seal is not tight enough, if the cheese pieces are too large, or if the bombs are over-baked. Ensure a firm seal and check for doneness at the lower end of the baking time.
You Must Know
The interior cheese will be extremely hot when first removed from the oven. Allowing a brief cooling period is essential to prevent burns. Handle the warm garlic butter with care to avoid splatter.
Storage Tips
- Store leftover cheese bombs in an airtight container in the refrigerator for up to 2 days.
- Reheat in a preheated oven at 350°F (175°C) for 5-8 minutes or until warmed through to restore texture. Microwave reheating is possible but will result in a softer, less crisp exterior.
- For longer storage, unbaked, assembled cheese bombs can be frozen on a tray until solid, then transferred to a freezer bag. Bake from frozen, adding 3-5 minutes to the baking time.